
Battle Report
On Friday I played a game of The Ninth Age with Chris The Part Time Warlord. We had a casual game where we chatted more than we played. I’m trying to improve my game, working on different strategies and tactics, within the Sydney community there are many players who’ve been around since Warhammer 6th edition and it shows in their ability to thrash me.
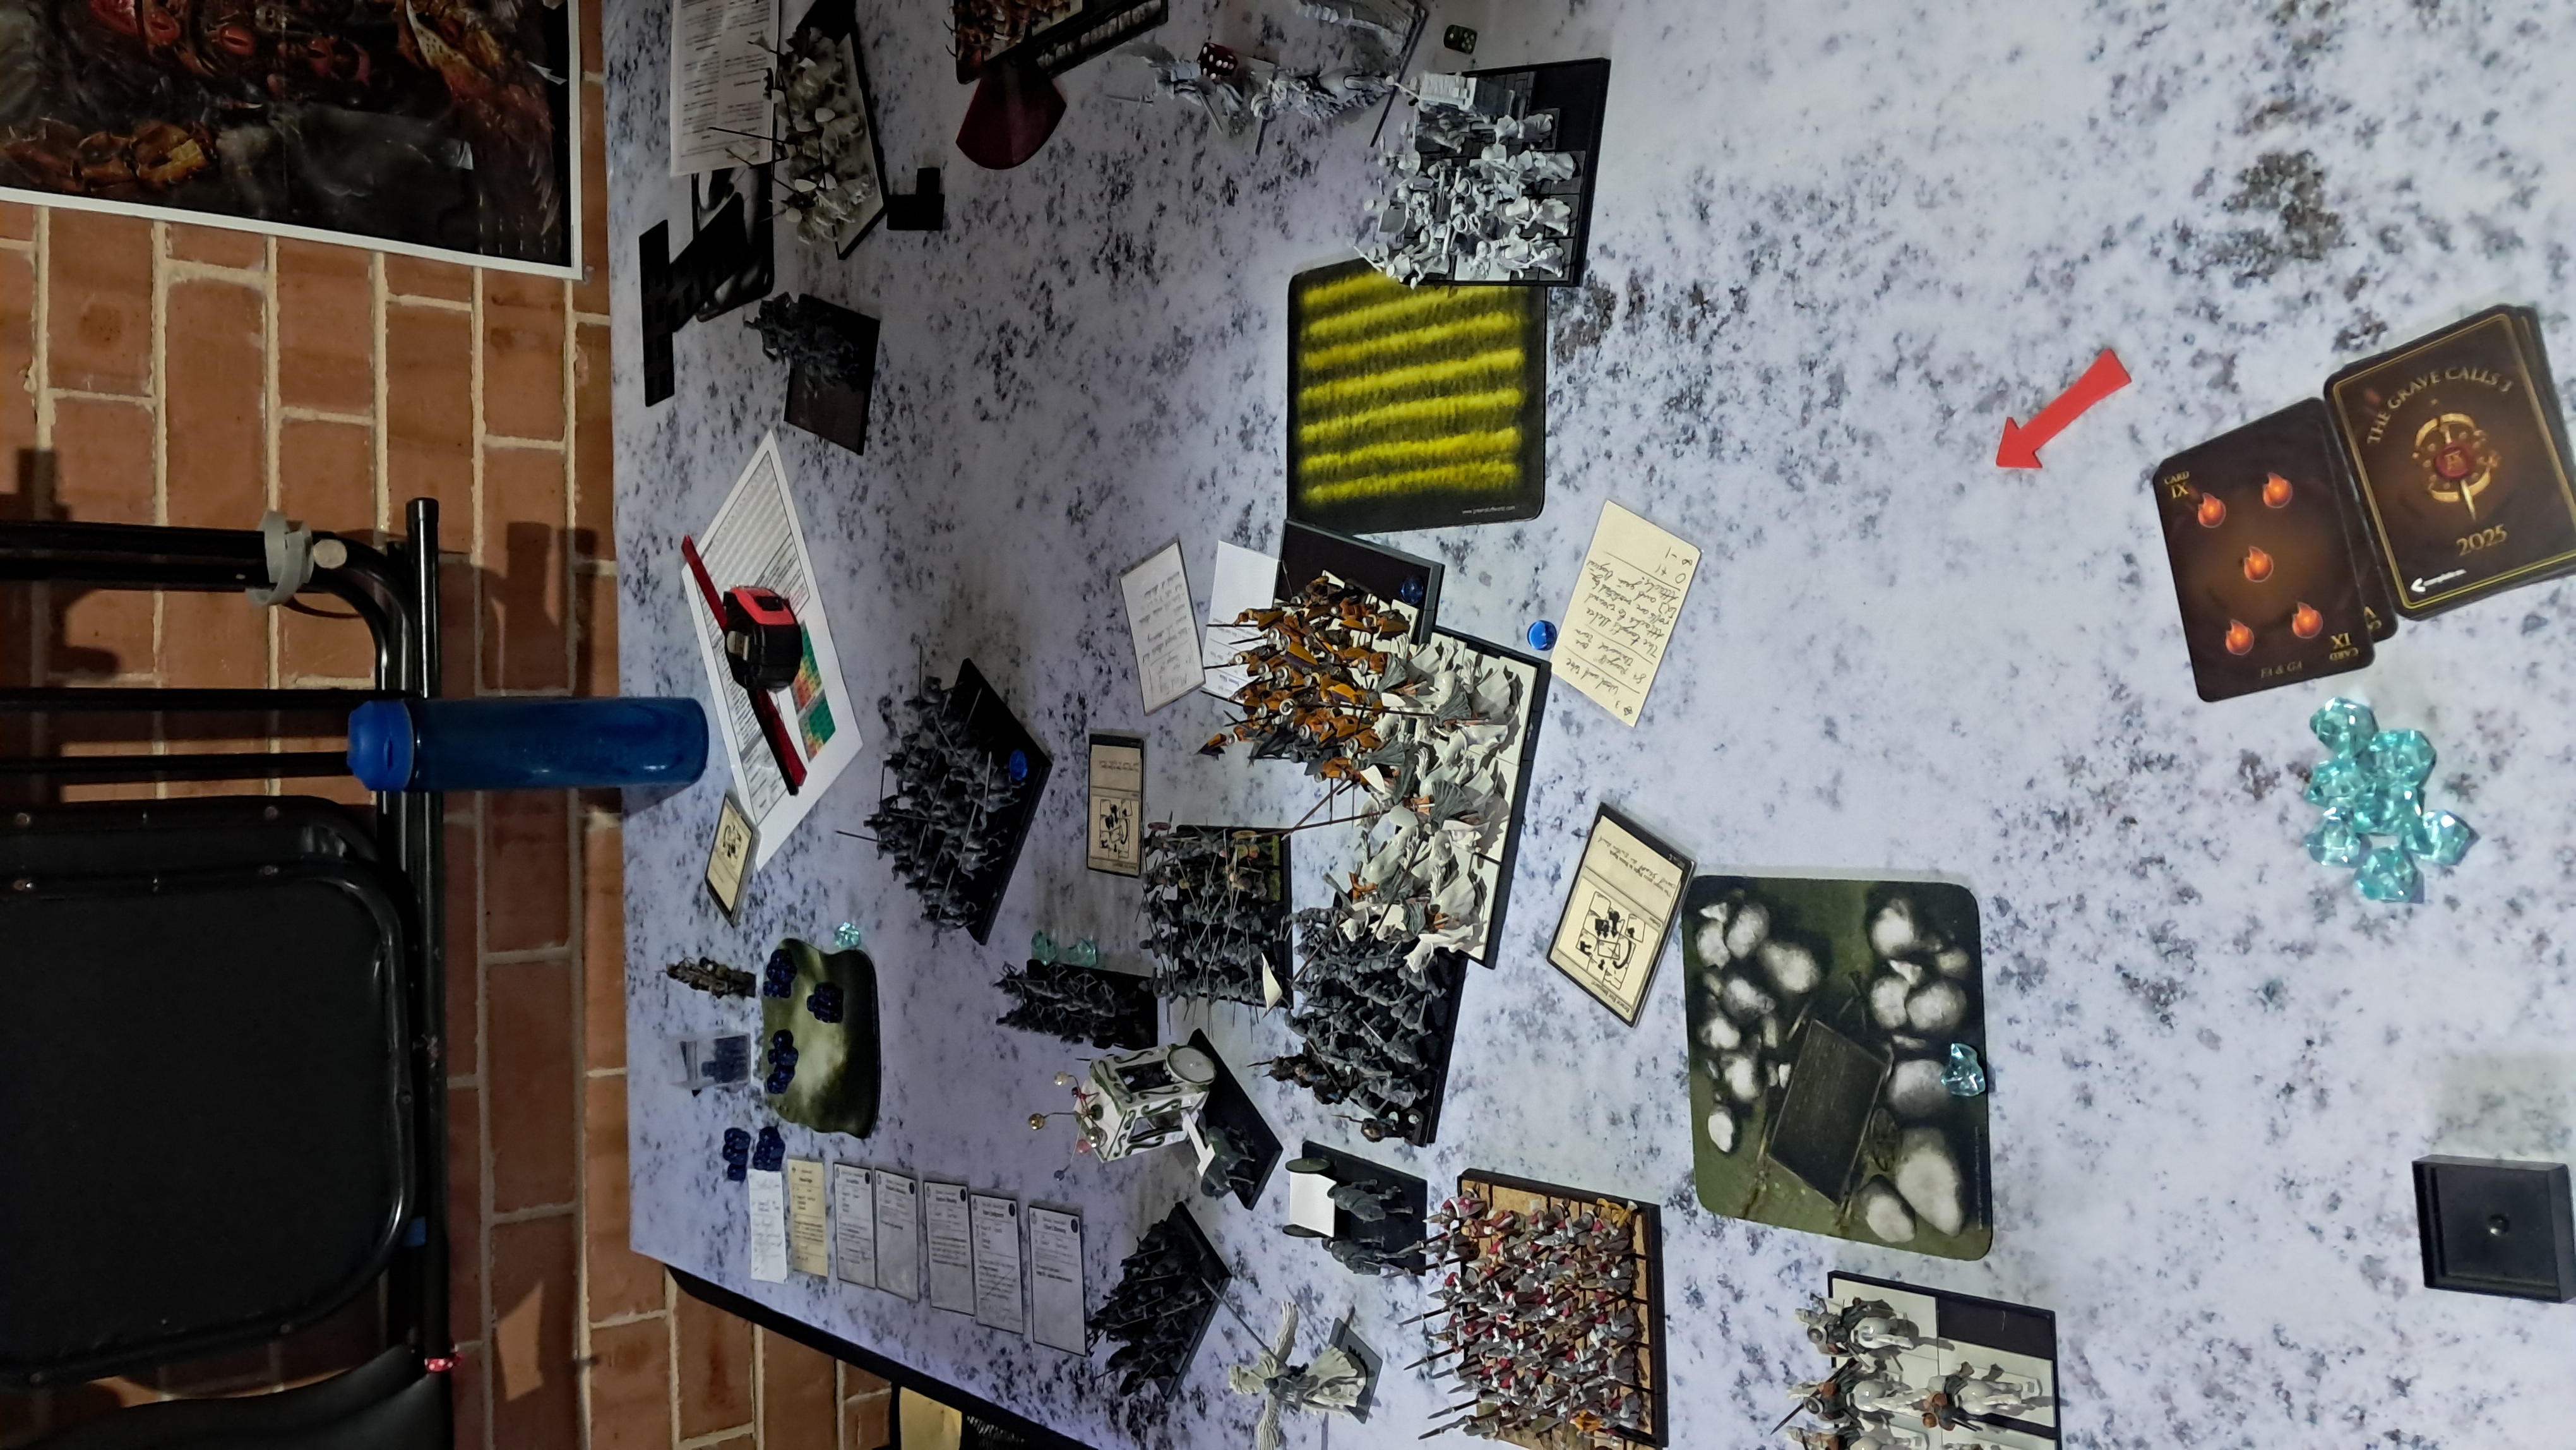
I took a 4000pt Empire list against Chris’ Equitaine. We played the Breakthrough objective on the Crimson Peaks map with Assault at First Light deployment. Chris was the attacker and had the larger deployment zone, I won the roll off and wanted to use the piece of impassible terrain to protect my flank.
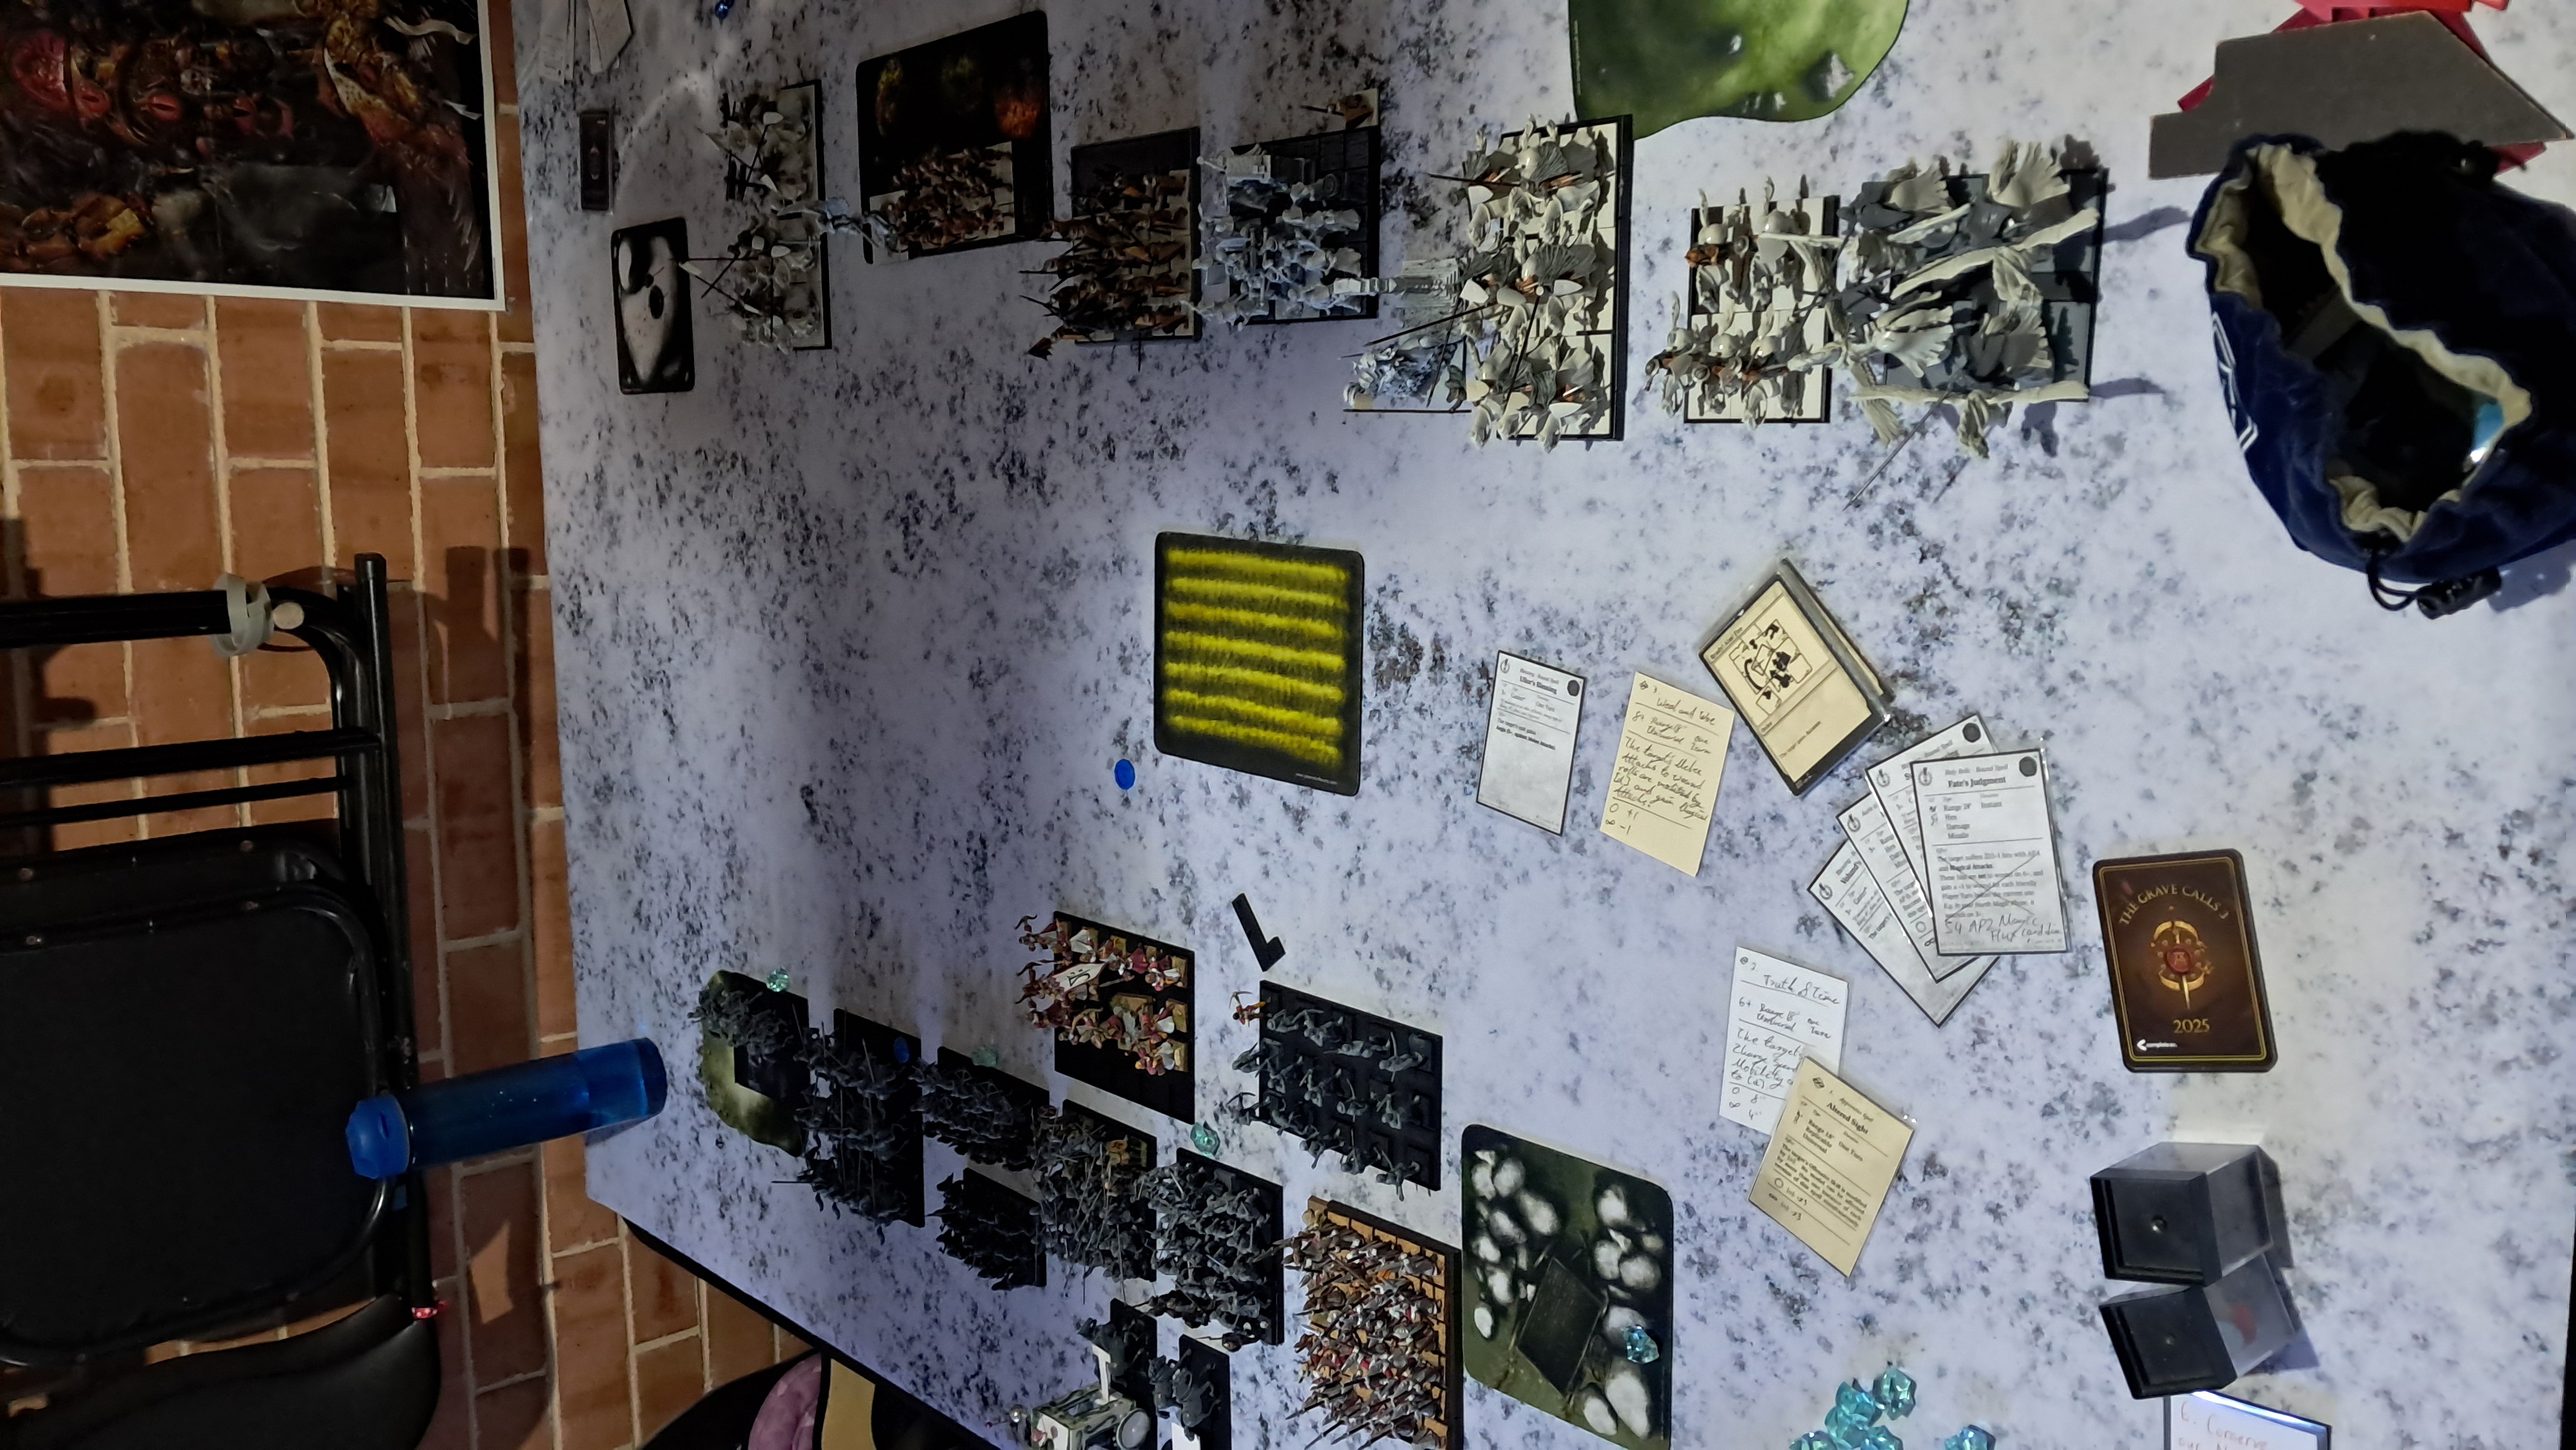
- On my left I had a unit of Reiters and a unit of Knightly Orders with a Knight Commander with The Light of Sonnstahl.
- Then I had a unit of 20 State Marksmen with crossbows and behind them an Imperial Detachment with great-weapons.
- Next I had two Imperial Guard units with hand weapons and shields, one with my General and the other my Battle Standard Bearer, both Marshals. My General has an Imperial Seal, which both protects him and buffs his discipline.
- I had my double buff wagon at the back, a Cosmology Wizard on an Ice and Fire Arcane Altar protected by a Talisman of Shielding and a Prelate on an Altar of Battle.
- To my right was a unit of spear State Infantry.
- Screening I had two units of Imperial Rangers.
I find the Imperial Detachment difficult to position, I need to keep it within my buff auras, keep it protected from being charged and in a position to counter-charge when my other primary units are. The penalty of using the counter-charge of not reducing enemy ranks makes a flank charge not so impactful. Also having screening units isn’t really that great in The Ninth Age due to overruns.
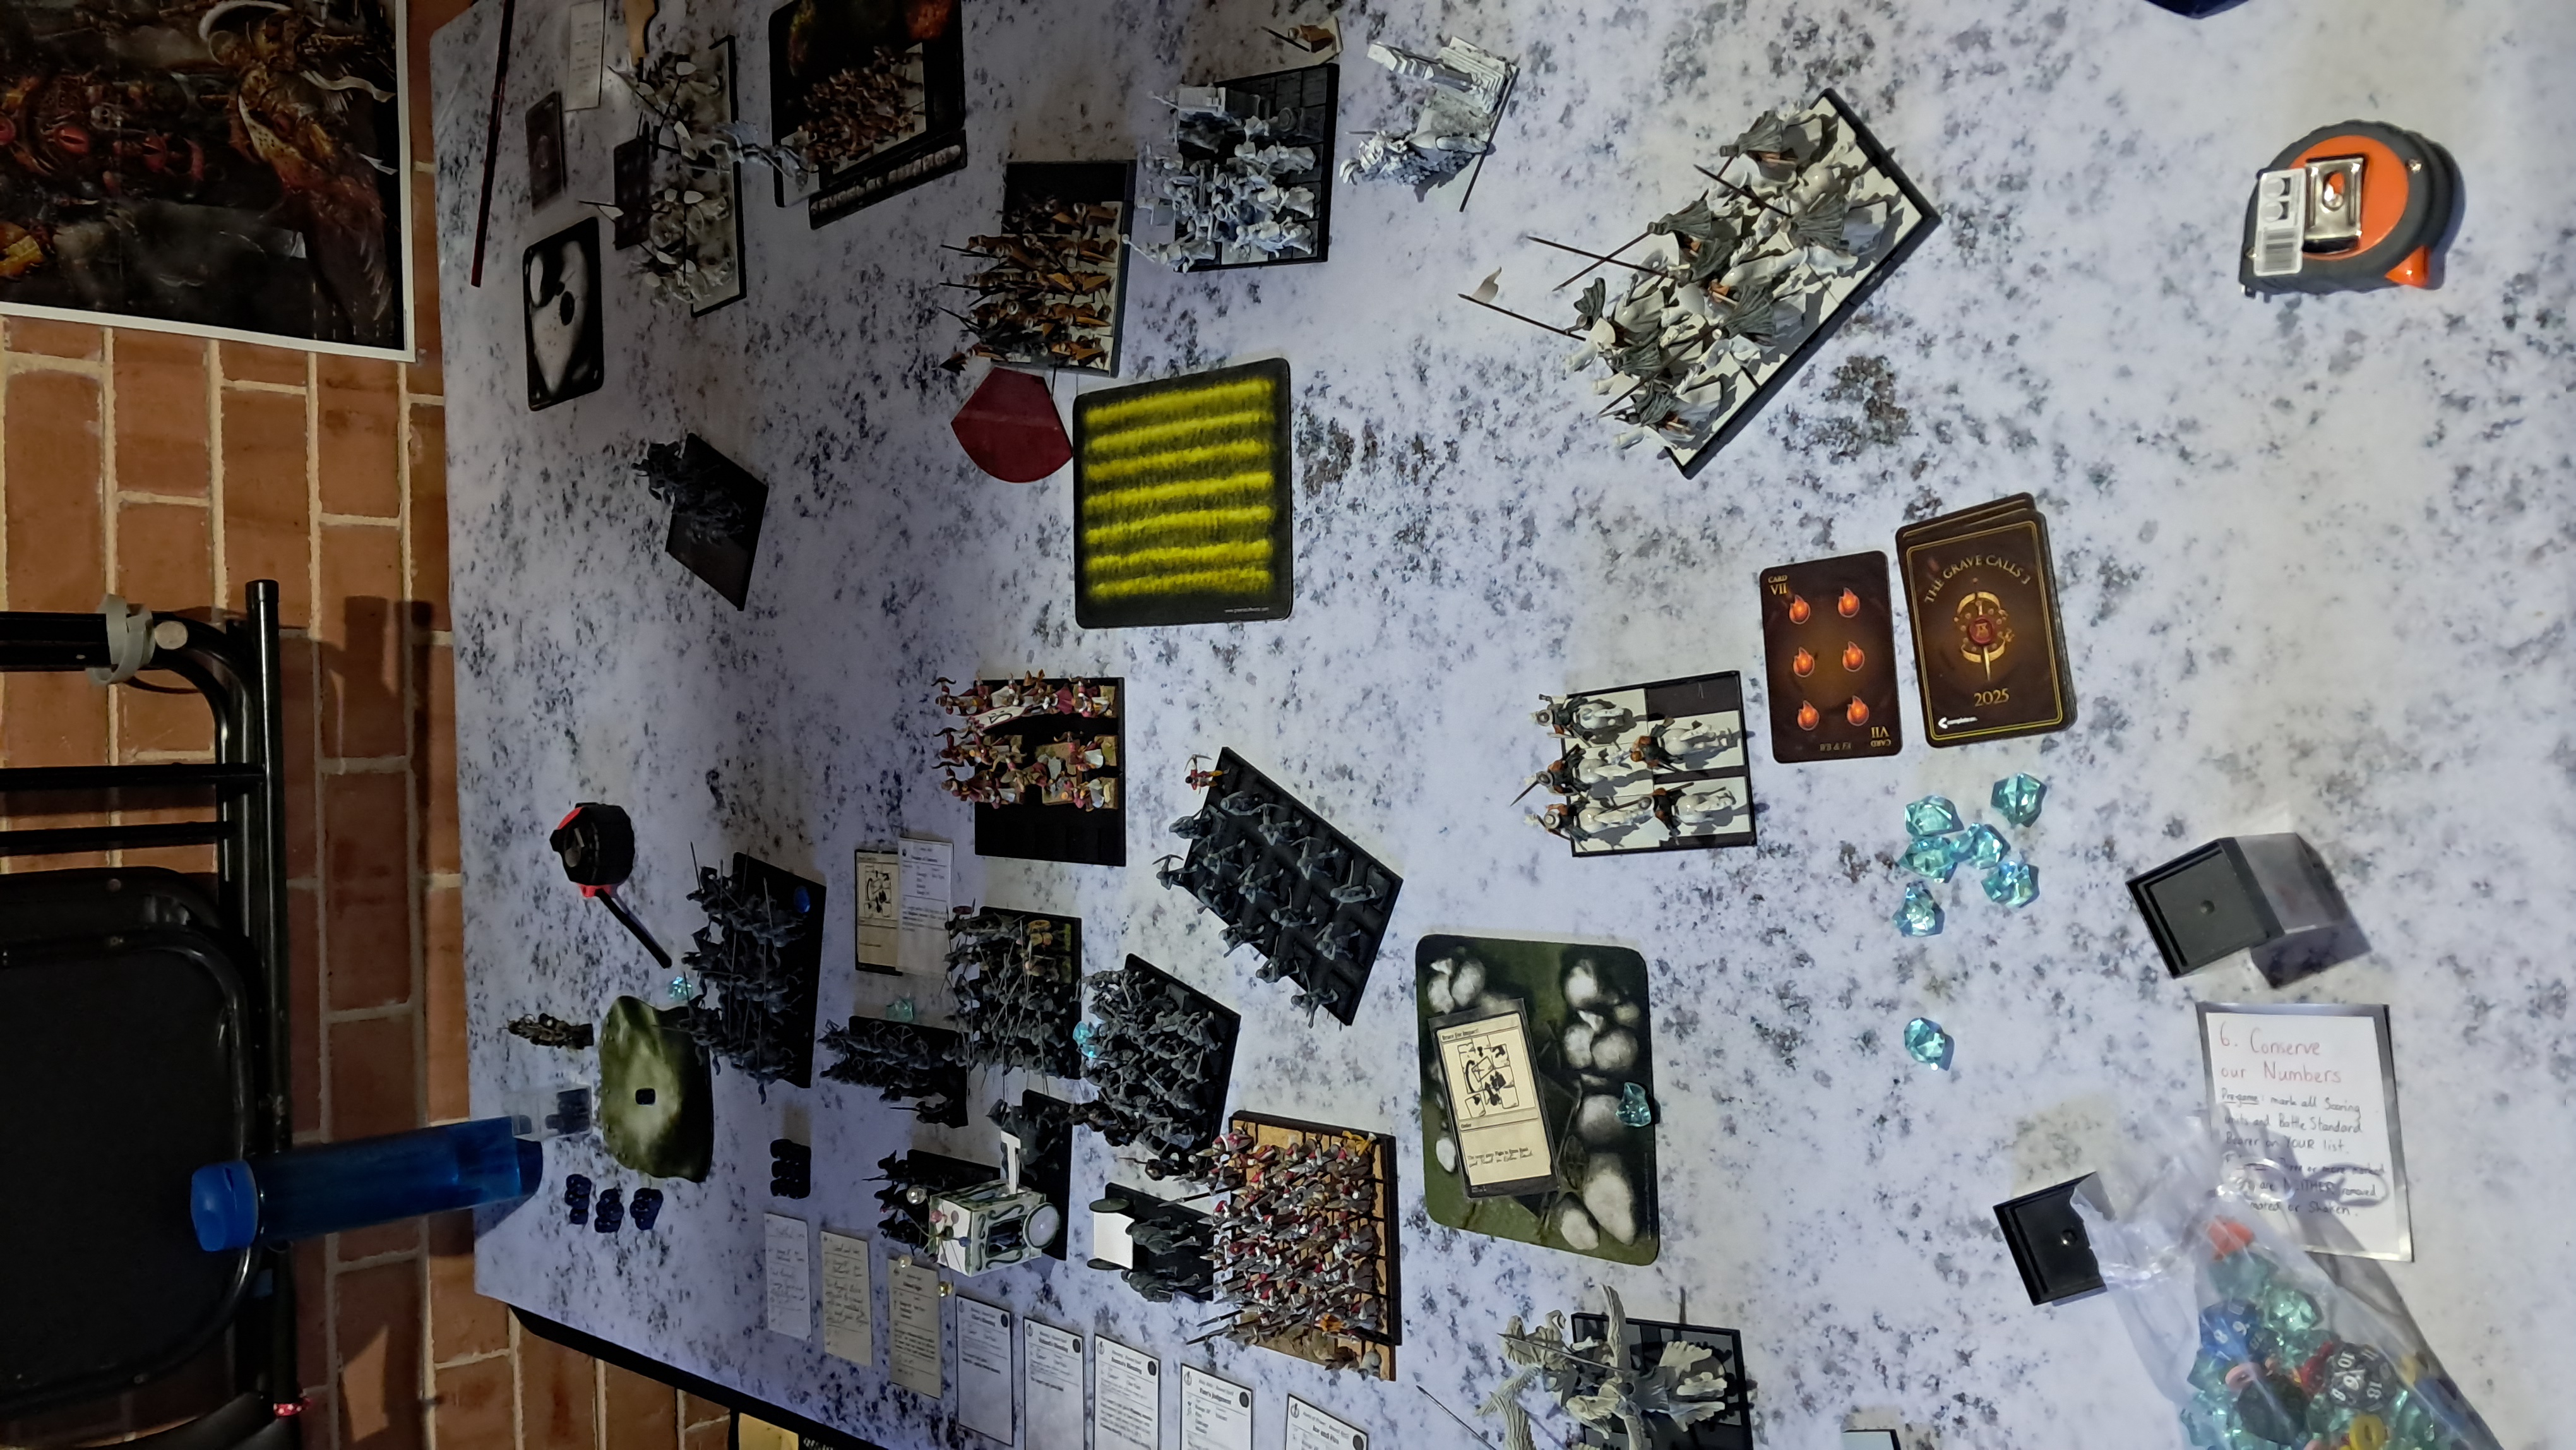
Now after my first movement phase you can see the problem of deploying my spear-men hard up against the impassible terrain. Chris’ Pegasus Knights flew right into my flank and even after turning towards them I was still blocked from charging. I feel that the Rangers would be better here since they light troops and can manoeuvre easily and can shoot chaff off the table. On my left the Reiters are doing their job of chaff and pestering Chris’ expensive unit of knights.
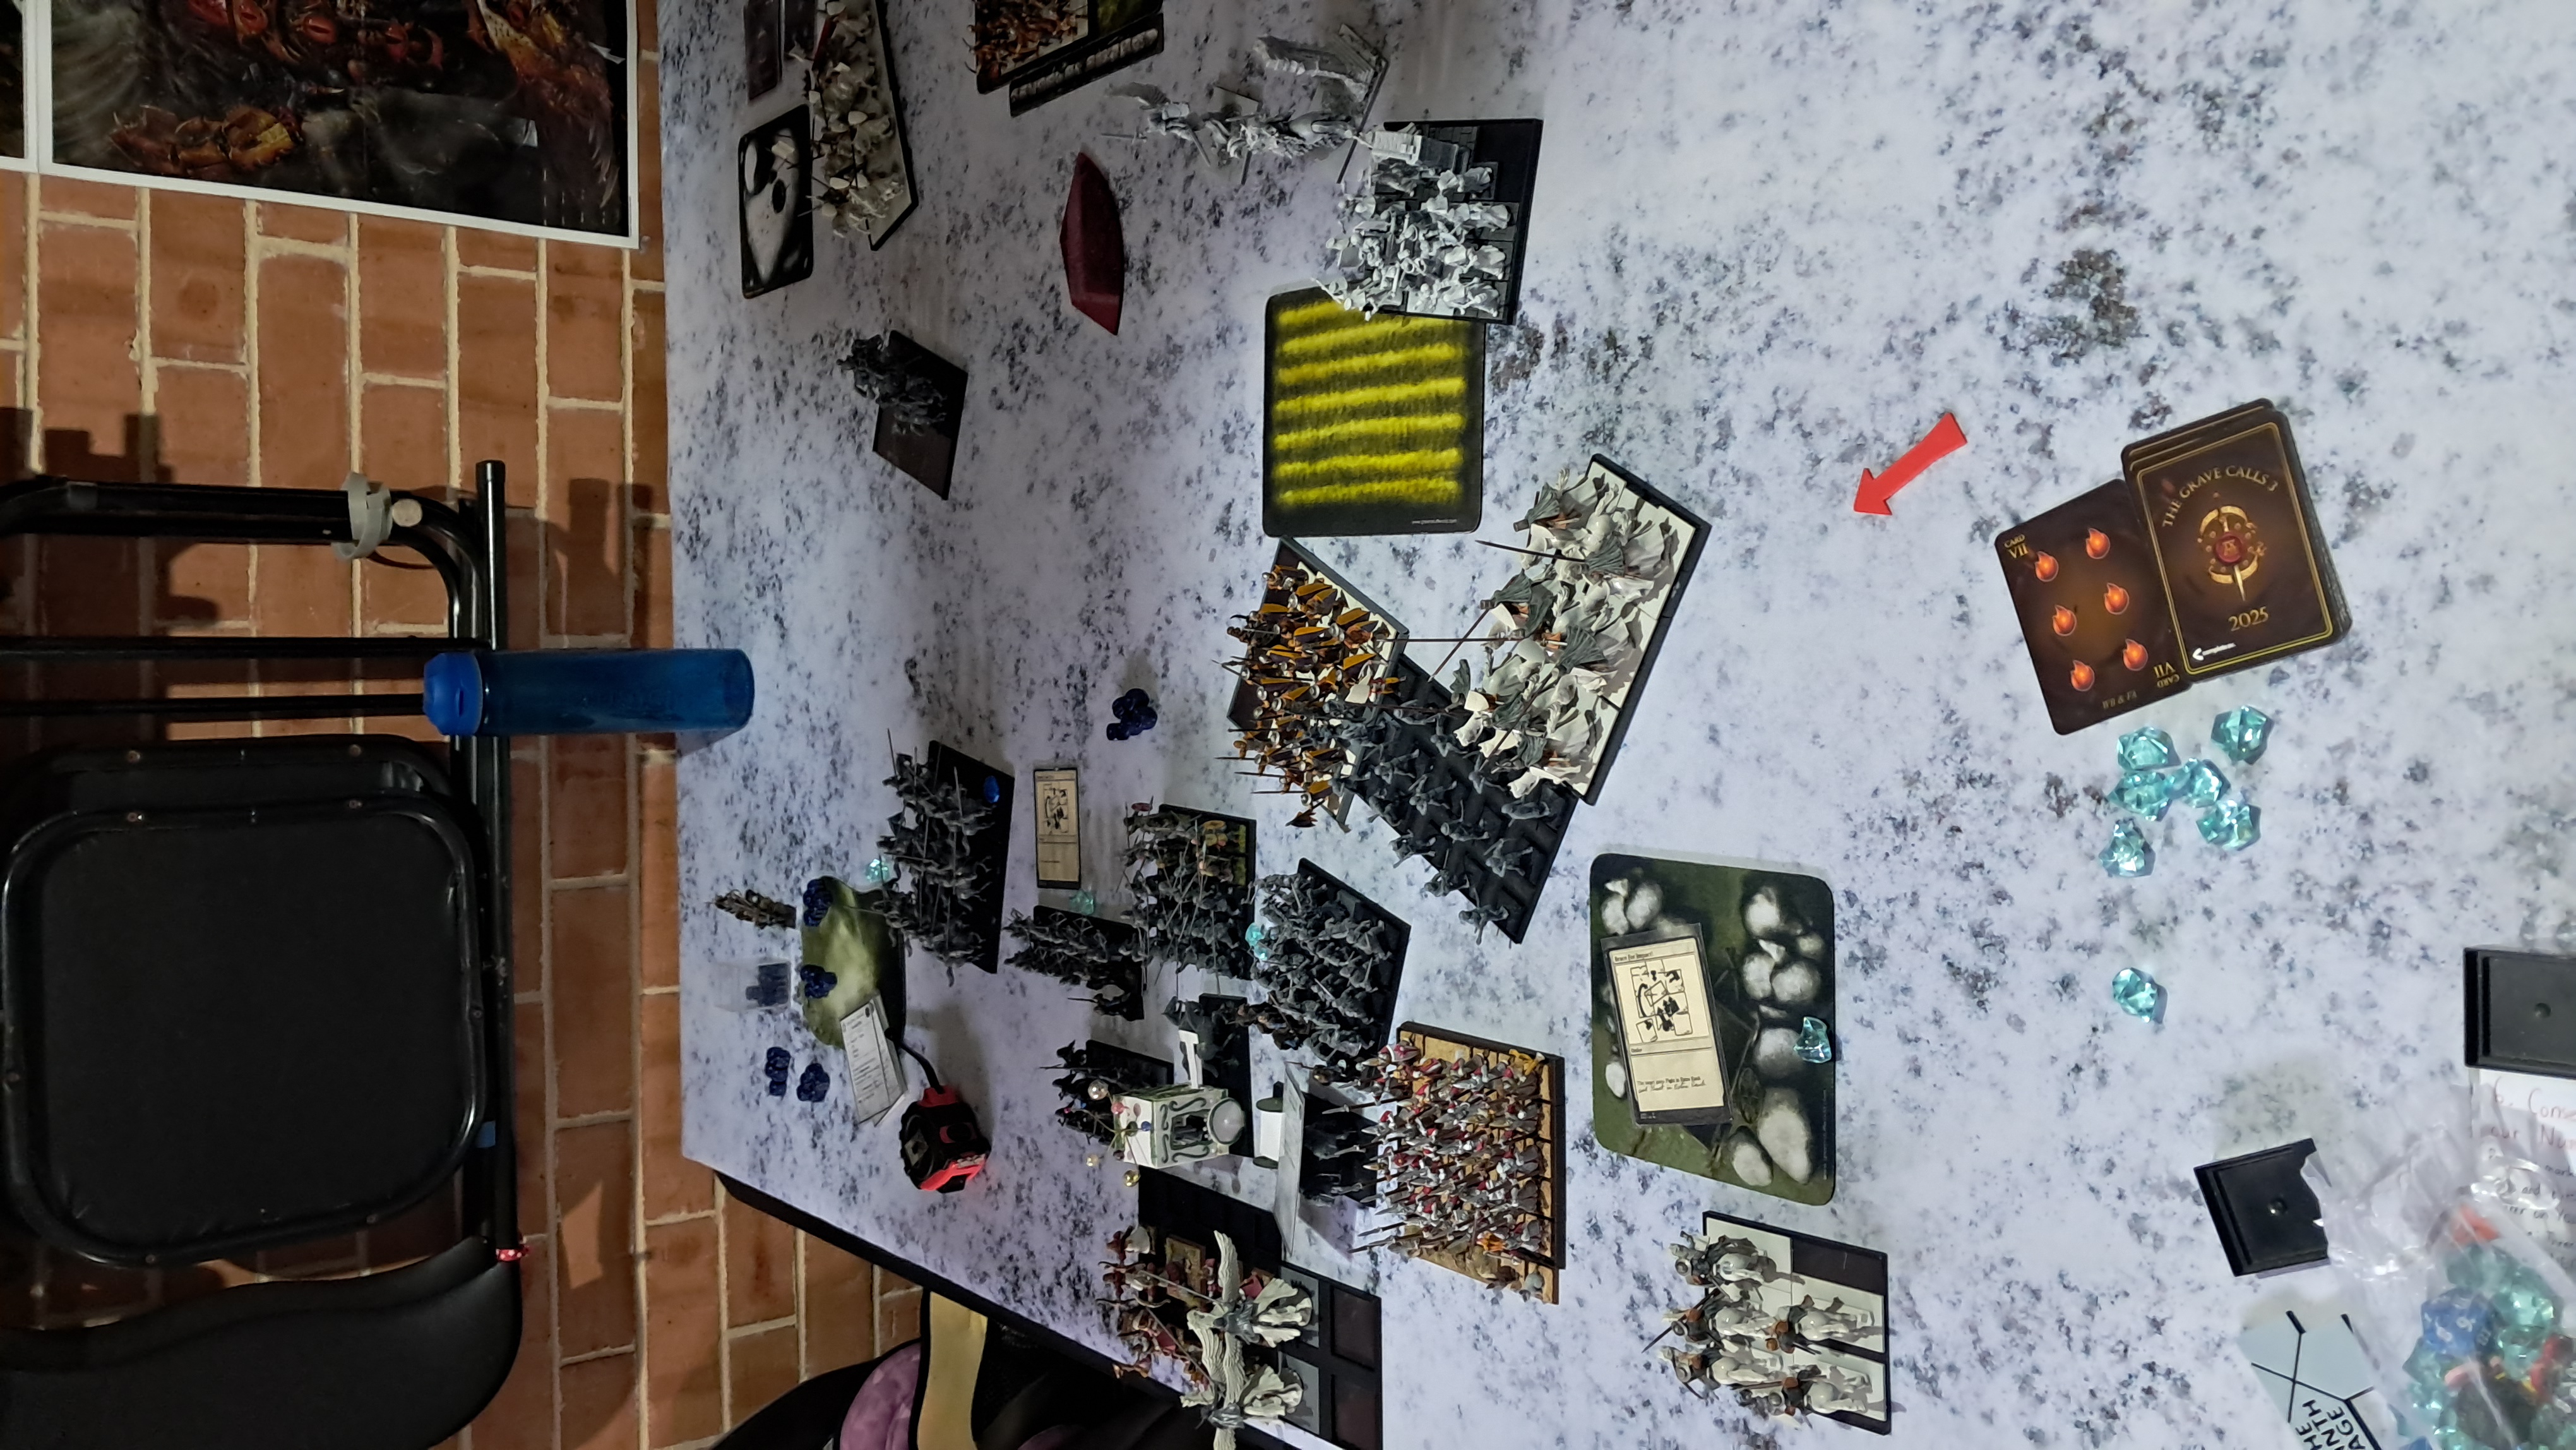
On Chris’ charge phase my left unit of Rangers flee but get caught by his Pegasus Knights. My right unit of Rangers gets a face-full of Errant Knights and a spear block in the left.
After a round of combat you can see that the Rangers were just trampled over and the Errant Knights were able to overrun into my Imperials and I was lucky the spear-men weren’t able to also. Now they did do well with their bows, but in melee they fold like paper, and I am thinking of deploying them further back towards one of my flanks.
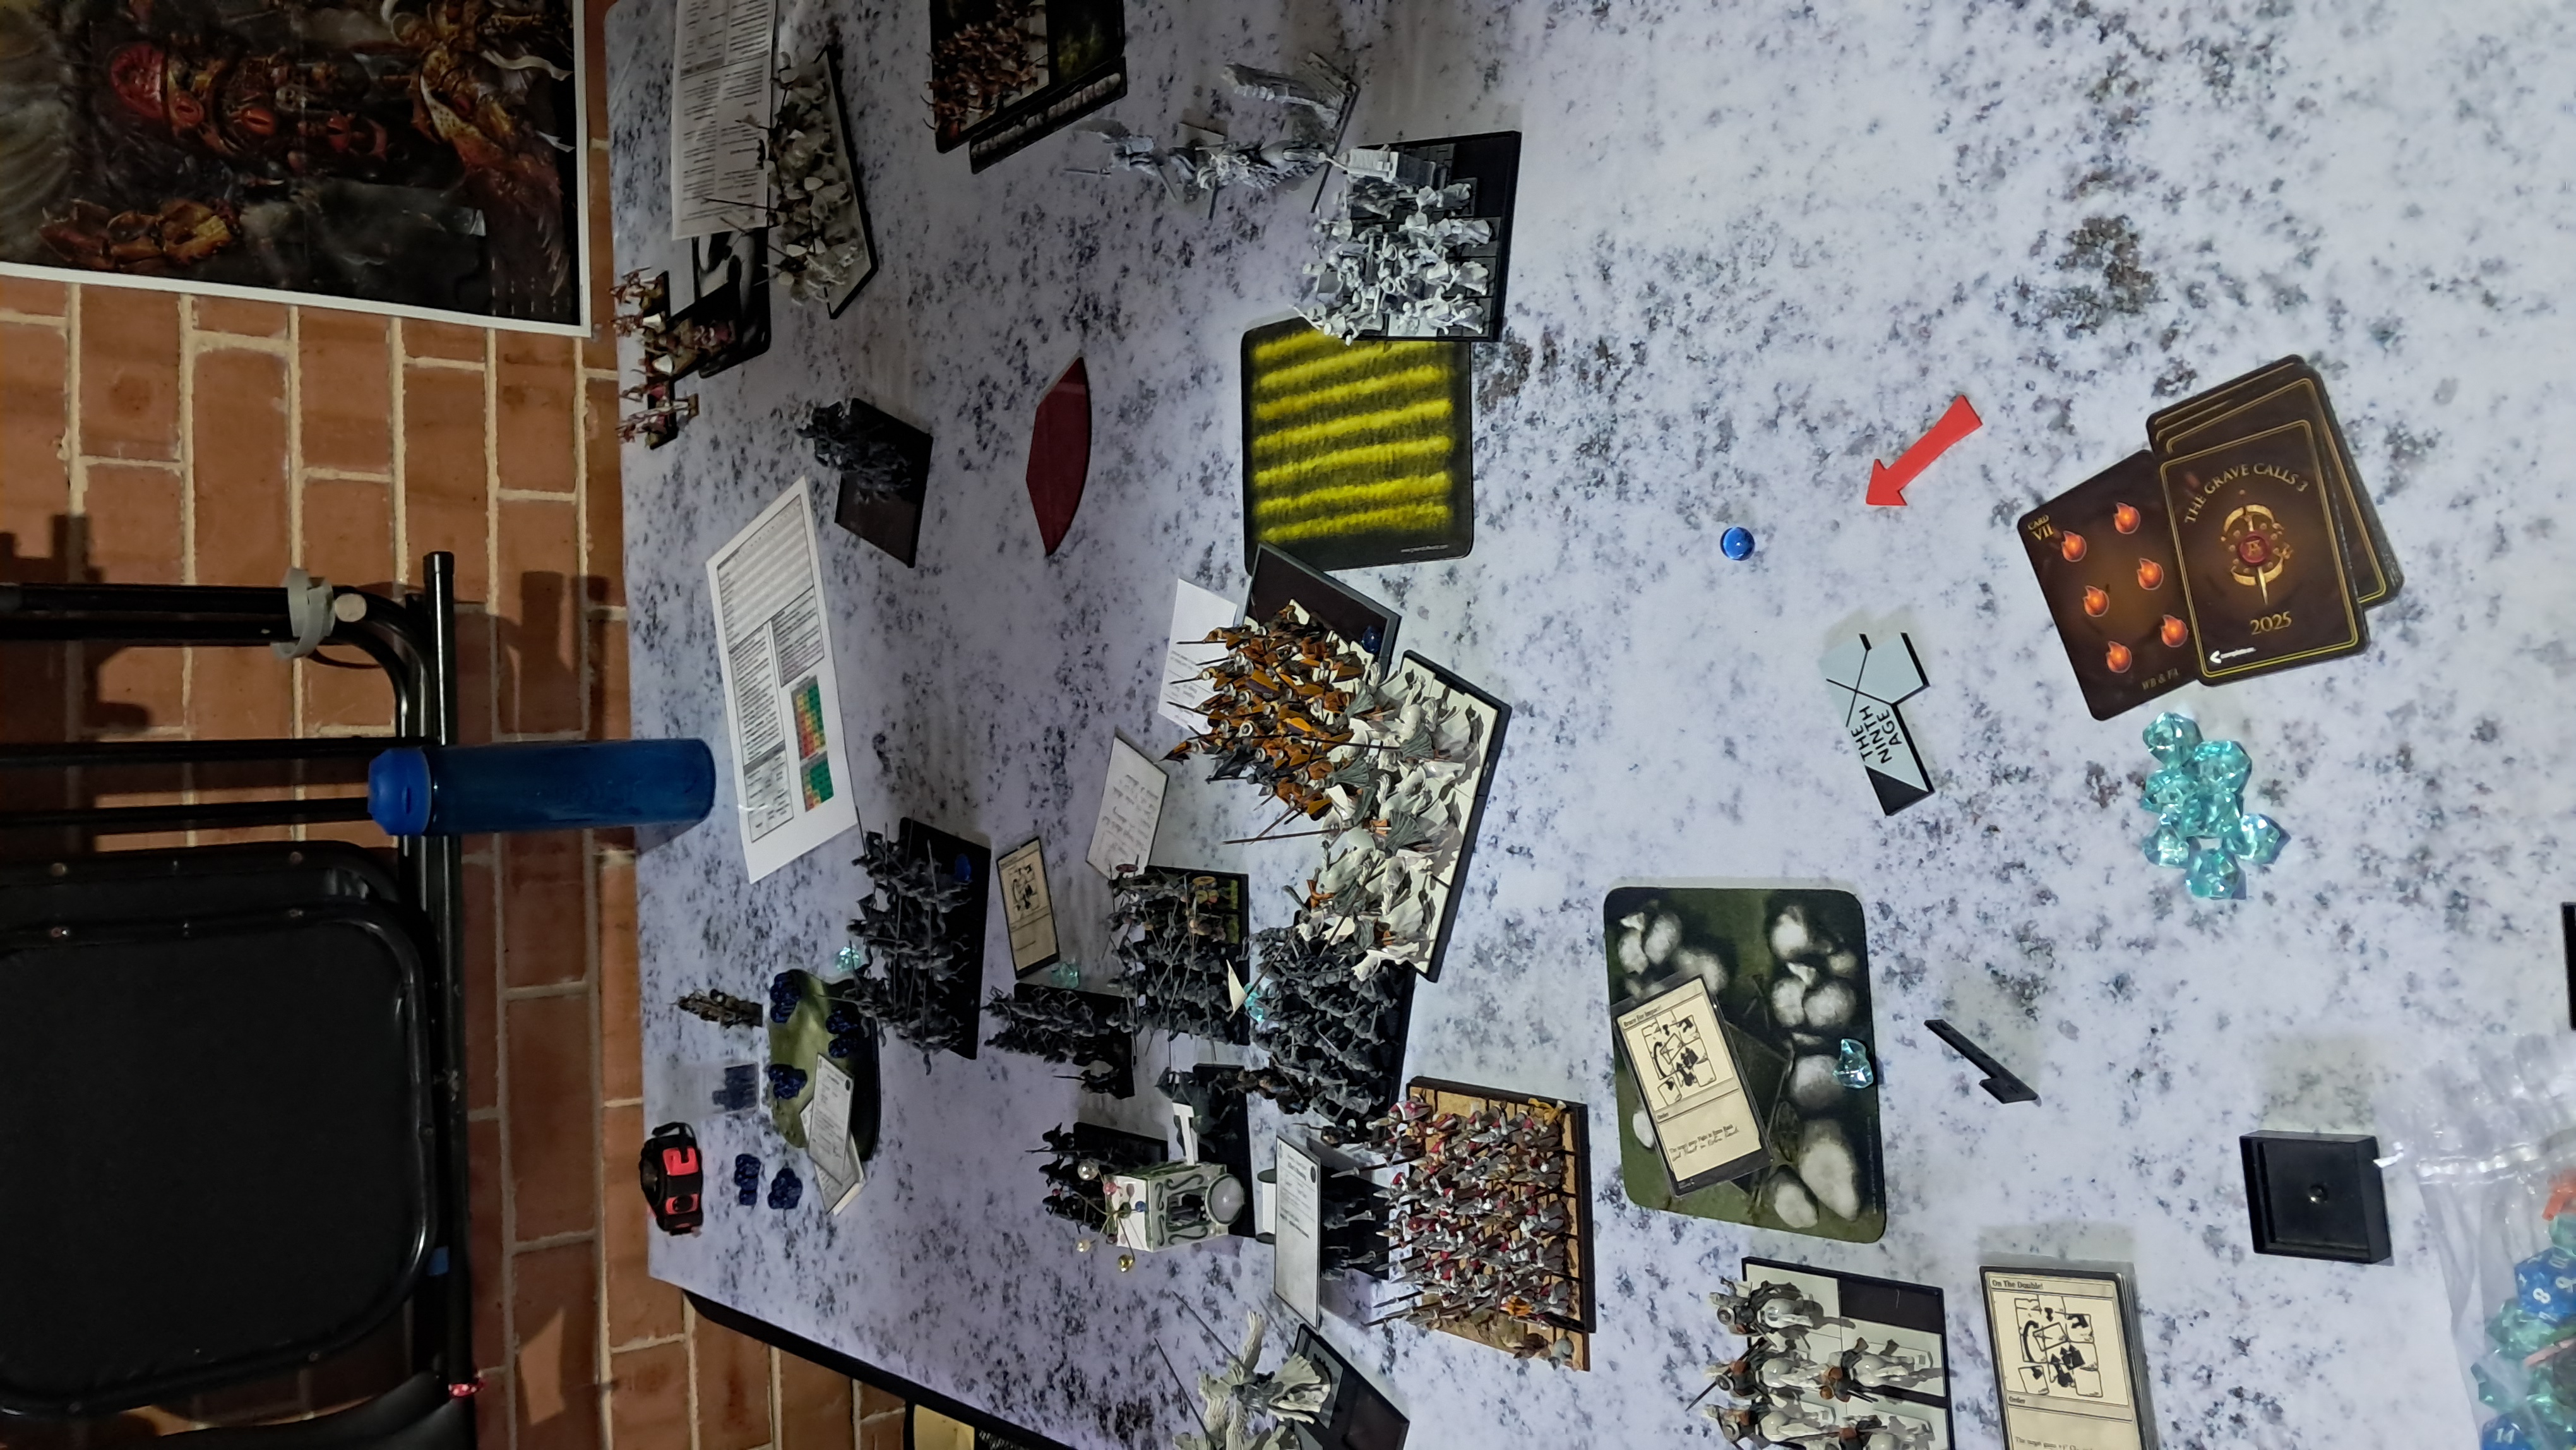
Now on my second movement phase I turn my knights to get the spear-men in arc, but having forgotten about Chris’ knights they are now out of arc, who’s effects will be seen in the next charge phase. My great-weapons and Wizard are brought to face the Pegasus, but my great-weapons are not in a position to protect the Wizard. My spear-men are still out of position and can neither support my Imperials nor could have charged Chris’ second unit of chaff.
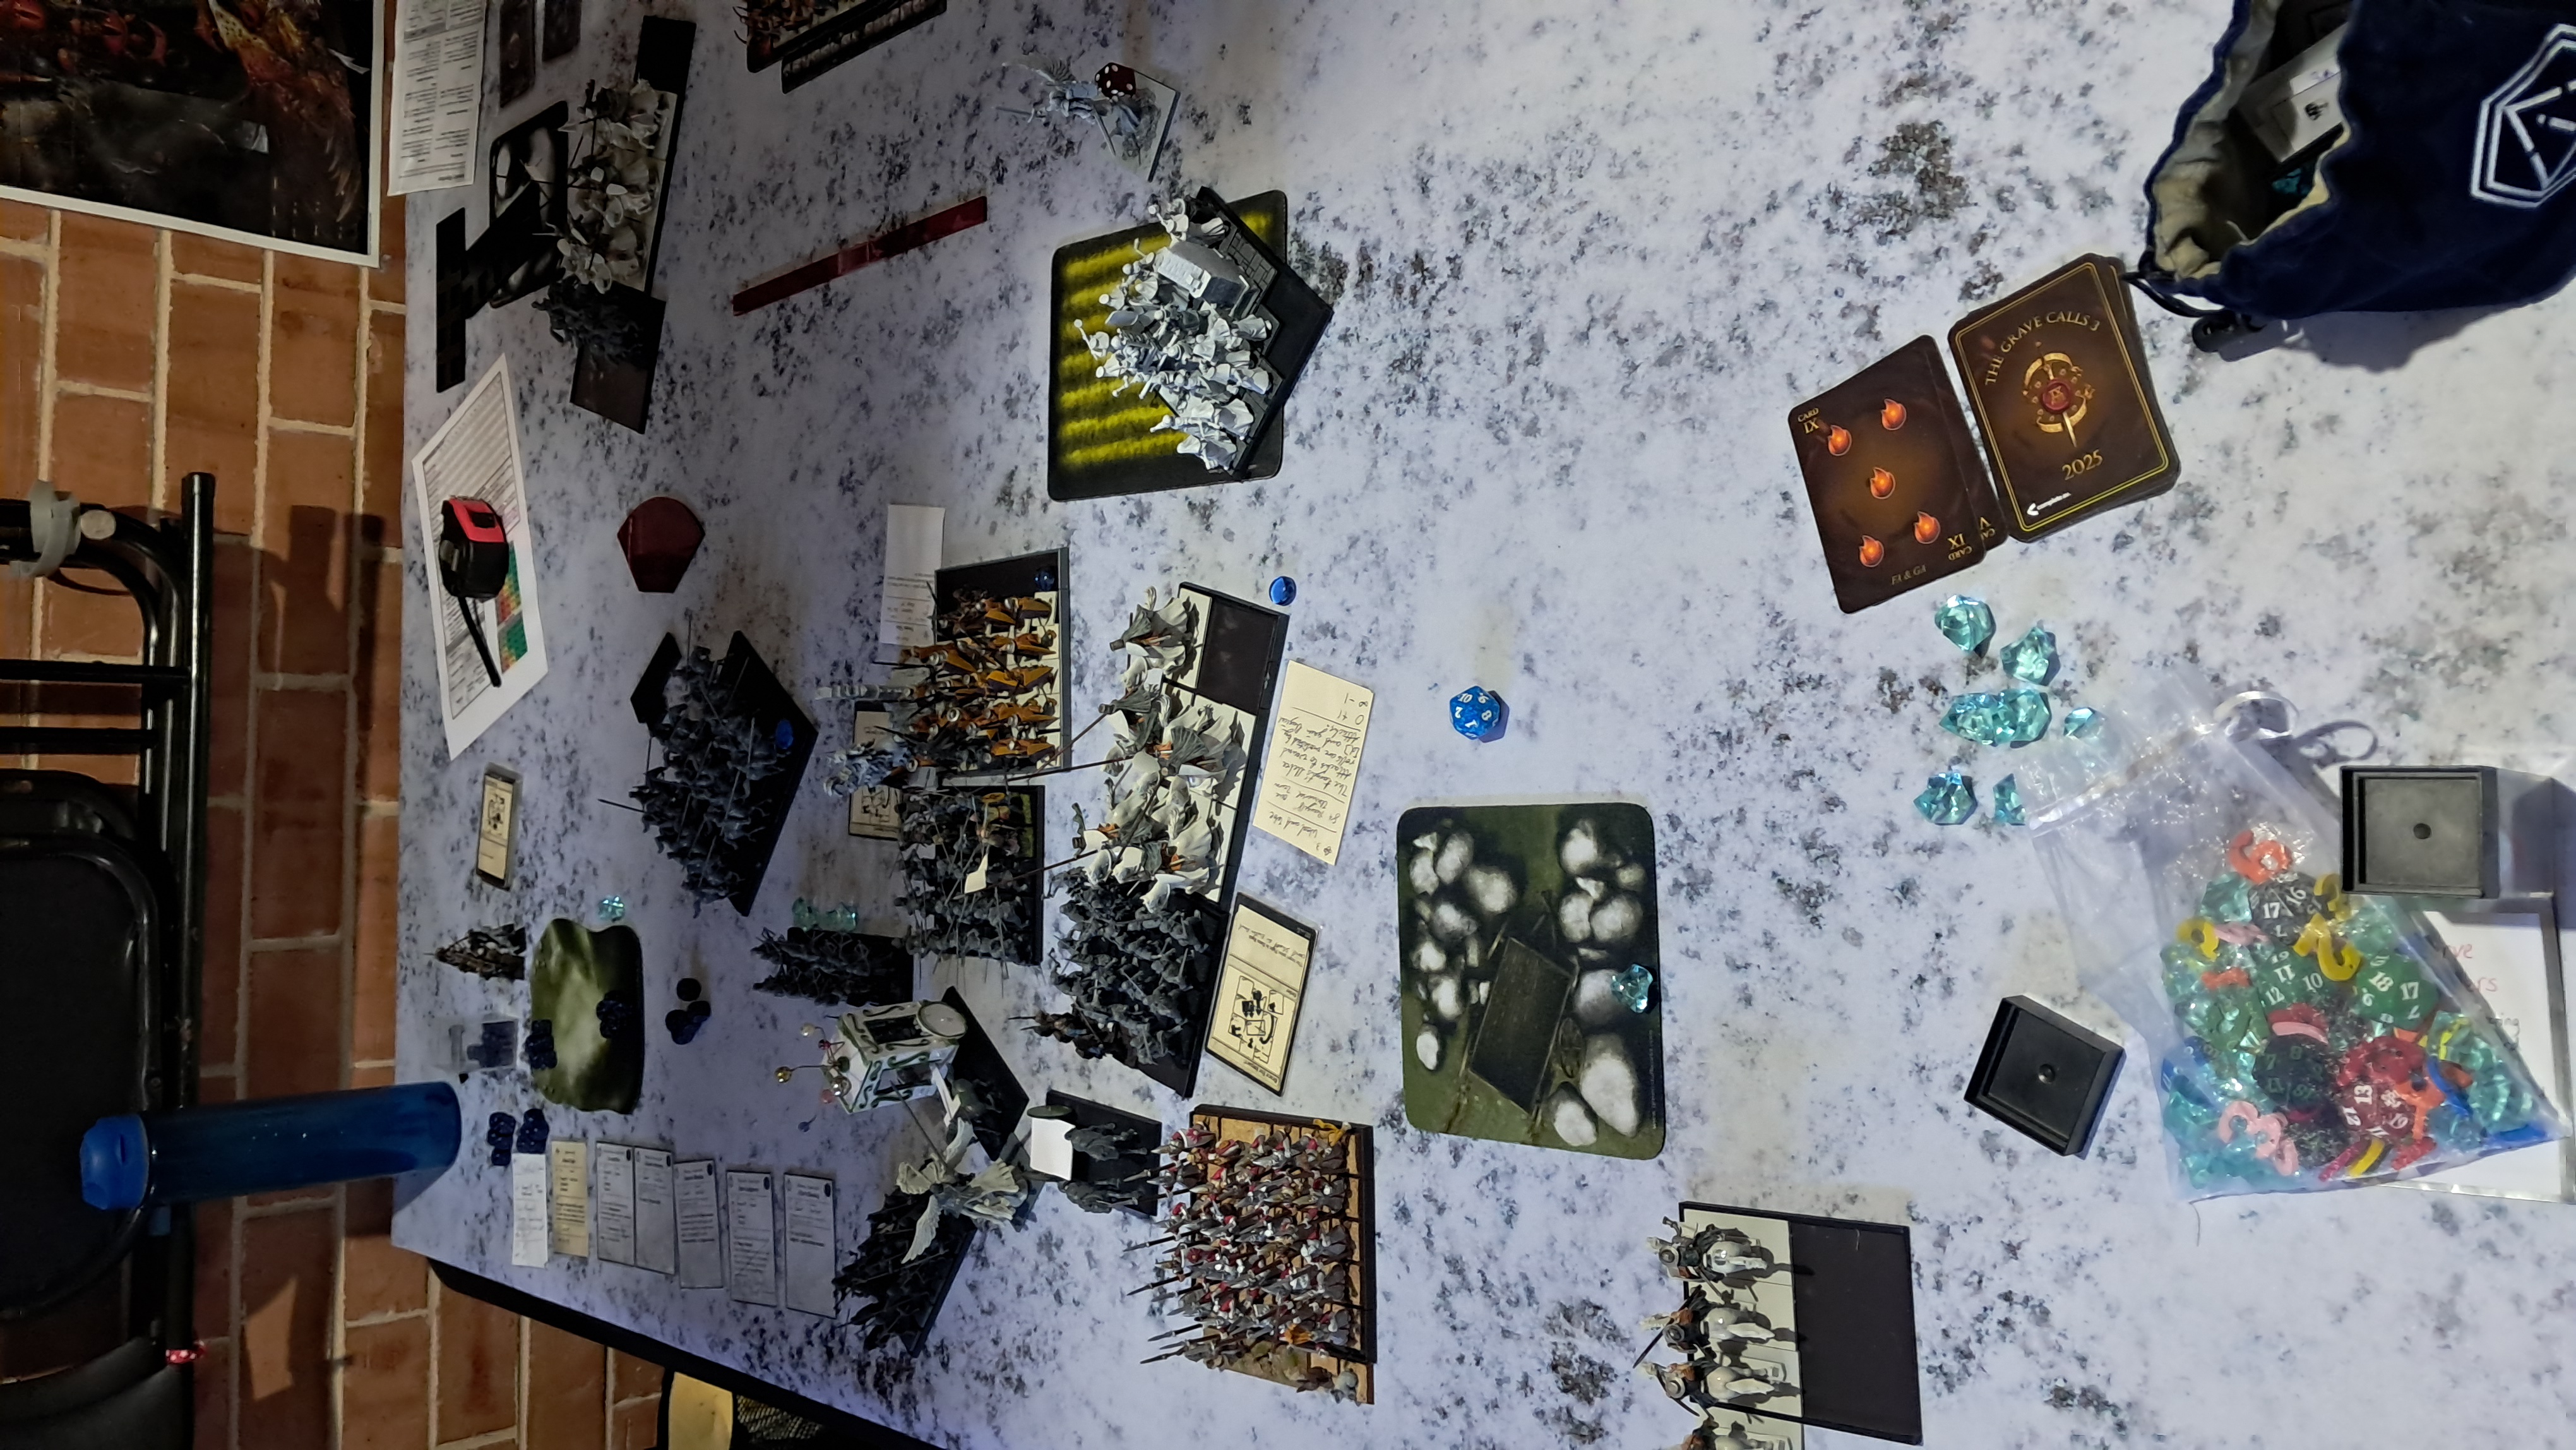
Chris charges into my Reiters with his knights, now that my knights are not in position to counter-charge. He predictably charged my Wizard with his Pegasus Knight. Then he charged with his spear-men and Green Knight. The Green Knight has an ability where enemy units count as being in a forest when in contact, this means that I did not gain my +4 static combat result in combat.
I neglected to take a photo after the next combat phase as had I conceded and was feeling a little shocked at the performance of my soldiers. The Reiters were defeated by Chris’ knights and turned to face my knights. My knights couldn’t charge as the spear-men’s overrun moved them out of arc. The spear-men had caused my Imperials to flee due to killing my Battle Standard Bearer with his two front-line characters in the unit, which made bodyguard ineffective, and being down by 4 static combat result. In the future to prevent this I need to equip a protective magic item on my Battle Standard Bearer. My Wizard was dead, or soon to be dead, I can’t remember. But my General’s Imperial unit did work and managed cause the Errant Knights to flee.
This battle once again showed how deployment has such a large impact on the battle and is key to victory, and also how effective chaff can be to force your opponent to either make bad charges and moves or delay their game. I have worked out how I want to deploy my own battle line, but need to remove screening units and rethink my non-knight flank. My Empire list is very defensive, relying on my ranged units to force my opponent to attack, this means that once I have deployed I don’t have much room to manoeuvre and rearrange my battle-line.
Since this battle I’ve removed one unit of Rangers and the Imperial Detachment from my list, I’ve equip the Battle Standard Bearer with Blacksteel Armour, which gives +2 armour, and increased his unit to a total of 36 models. I’ve also given the General’s unit great-weapons and since I had an extra 80 points he got a Death Warrant, which increases his attacks, strength and armour piercing and Great Tactician which allows him to give an extra order each turn.
Overall, though I lost, I had a great time, Chris is a legend and it was great to chat before we played, as we played and afterwards also.